|
| Welcome To The |
| Xavier University Network |
|
|
|
|
|
To configure your device, follow the instructions below:
|
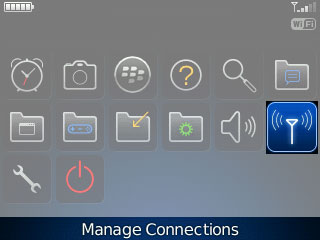
• Use the Track Pad or Menu button to navigate to the Manage Connections setting.
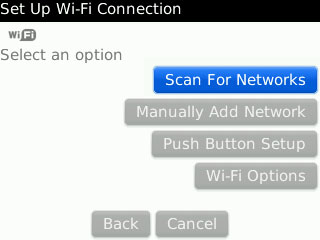
• Select Set Up Wi-Fi Networks.
• Select Scan for Networks.
• Select the network xavierwireless.
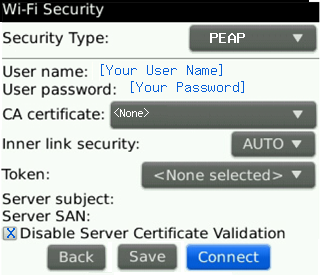
• Set the Security Type to PEAP.
• Enter your [Your User Name] and [Your Password].
• Set the CA certificate to the certificate you downloaded above.
• Do not change Inner link security or Token.
• Server SAN should be set to .
• Leave Server SAN blank.
• Leave Disable Server Certificate Validation unchecked.
• Check Disable Server Certificate Validation.
• Click Connect.
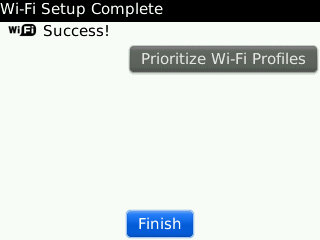
• You should now be connected to the network. Click Finish to exit Wi-Fi setup.
|
|
|